Part 1: Install the PVR IPTV Simple Client
The PVR IPTV Simple Client addon lets you set up IPTV on your device. So let’s install the addon.
1. Launch your Kodi application.
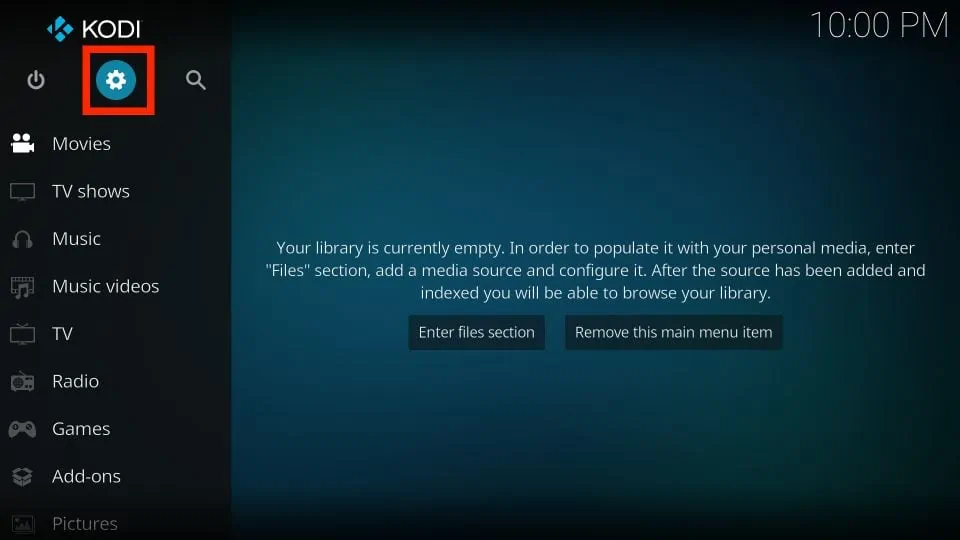
2. Click on the Settings Gear in the top-left corner, just below the Kodi logo.
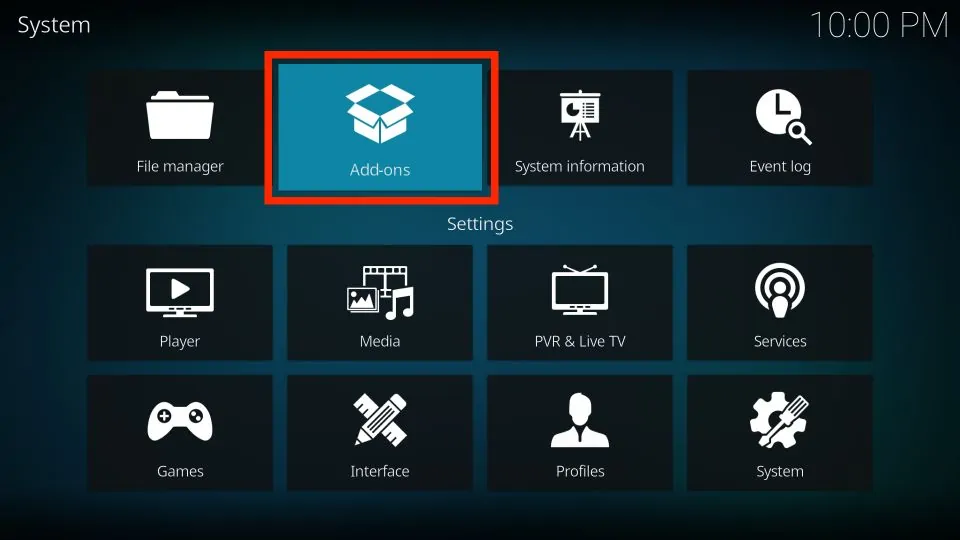
3. On the next page, select the Add-ons option.
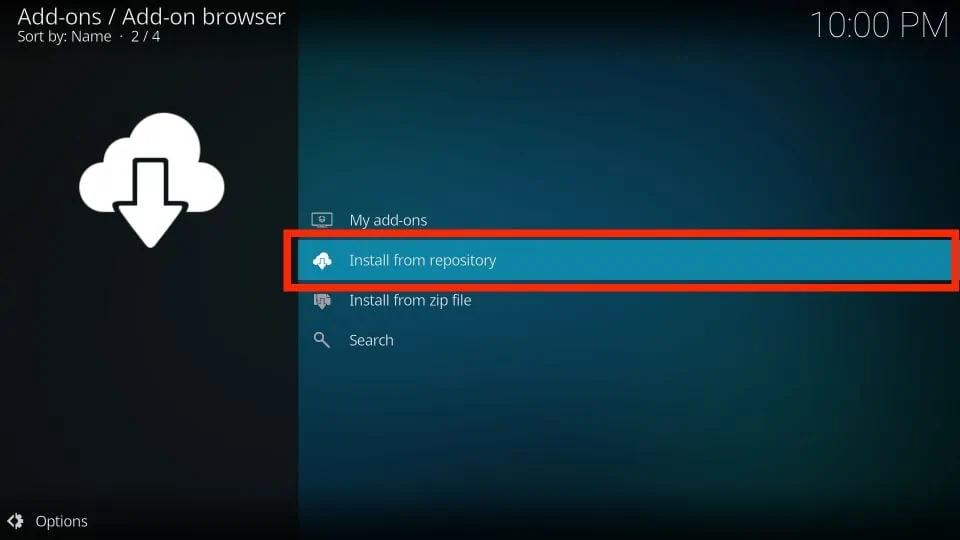
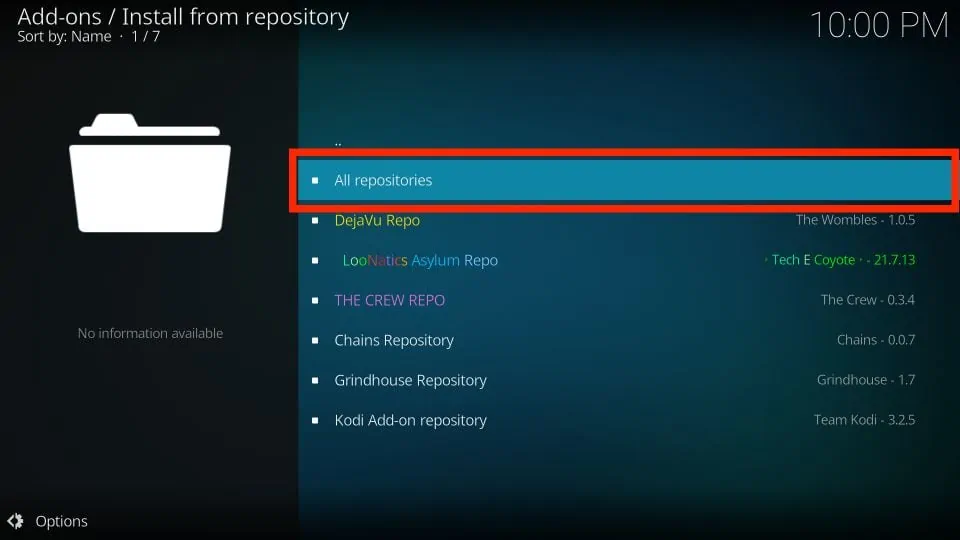
4. Then, click on Install from repository.
5. Select All repositories.
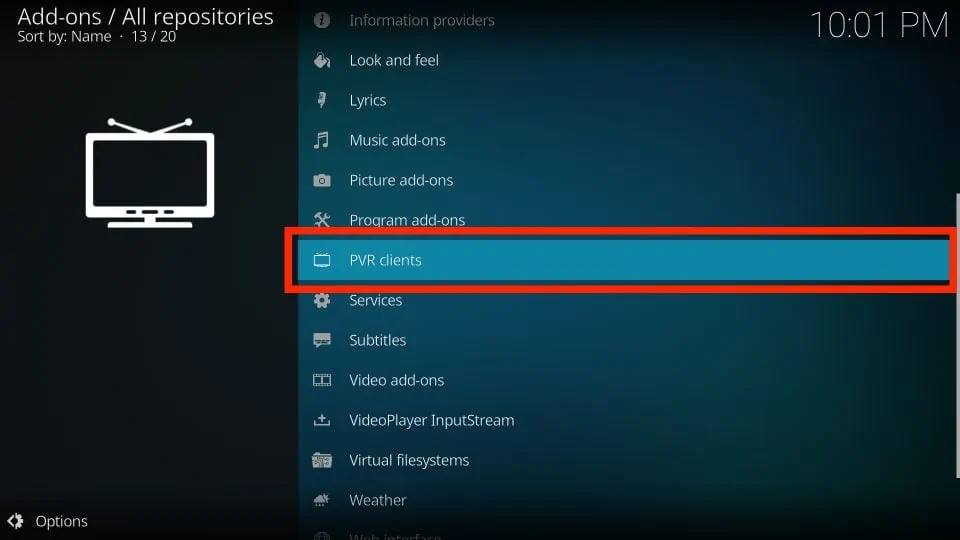
6. On the next screen, scroll down and select PVR clients.
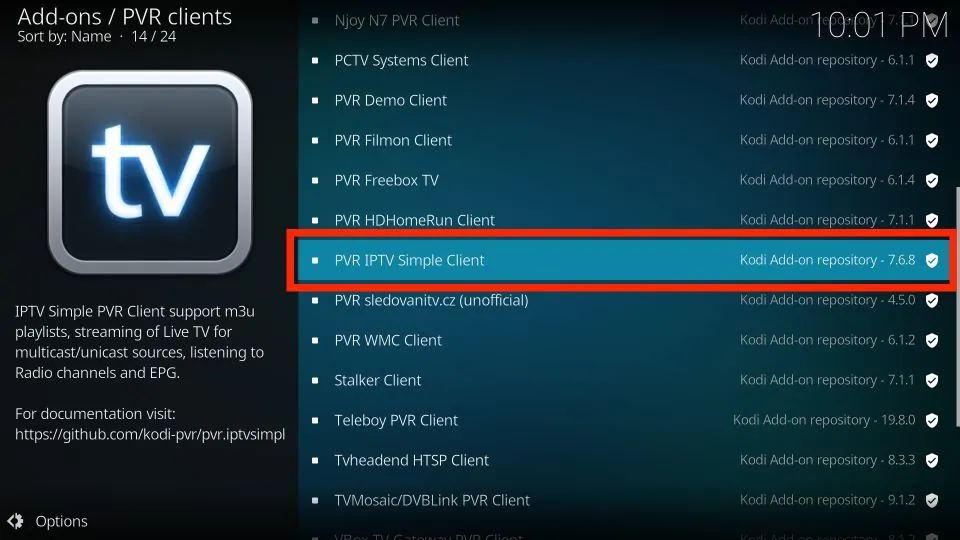
7. Then, scroll down and select PVR IPTV Simple Client.
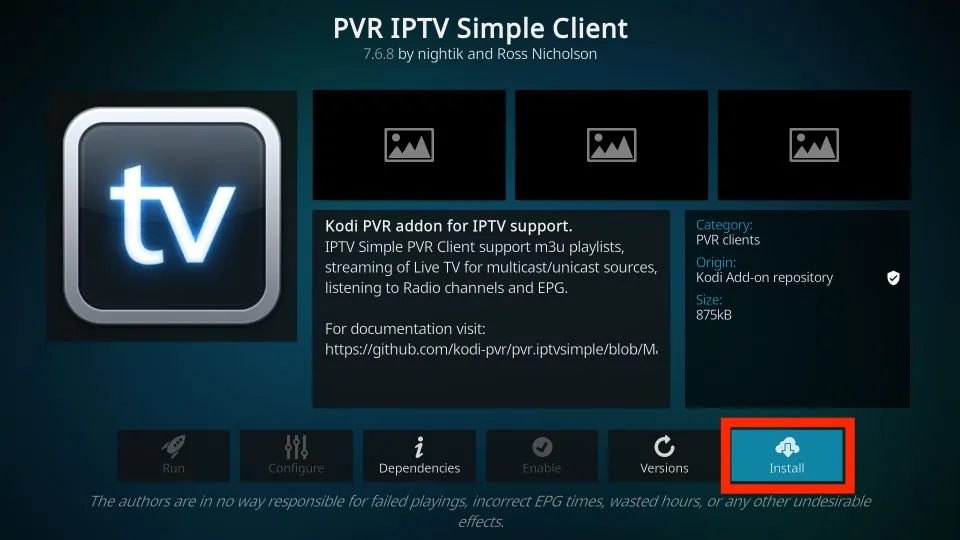
8. The addon’s dashboard will open. Select Install.
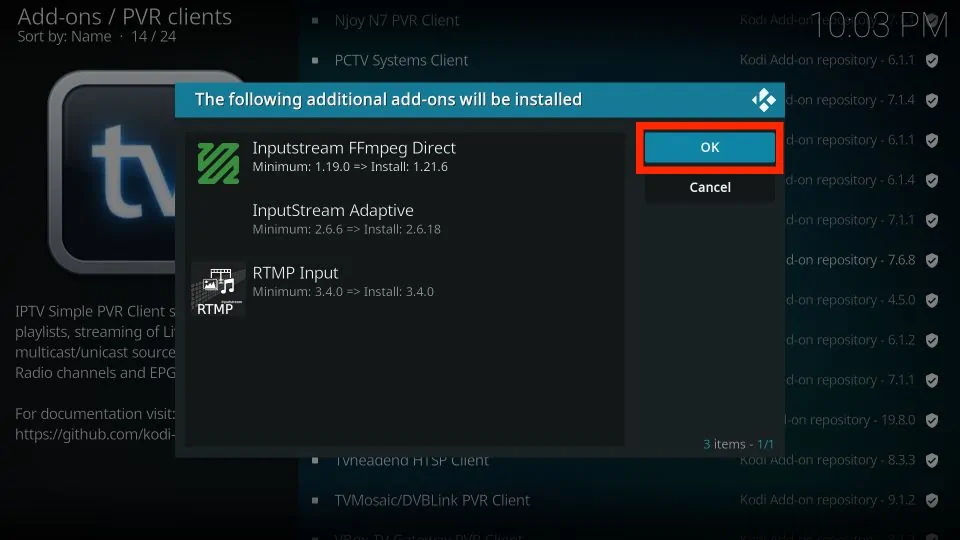
9. Click OK to install the necessary supporting addons.
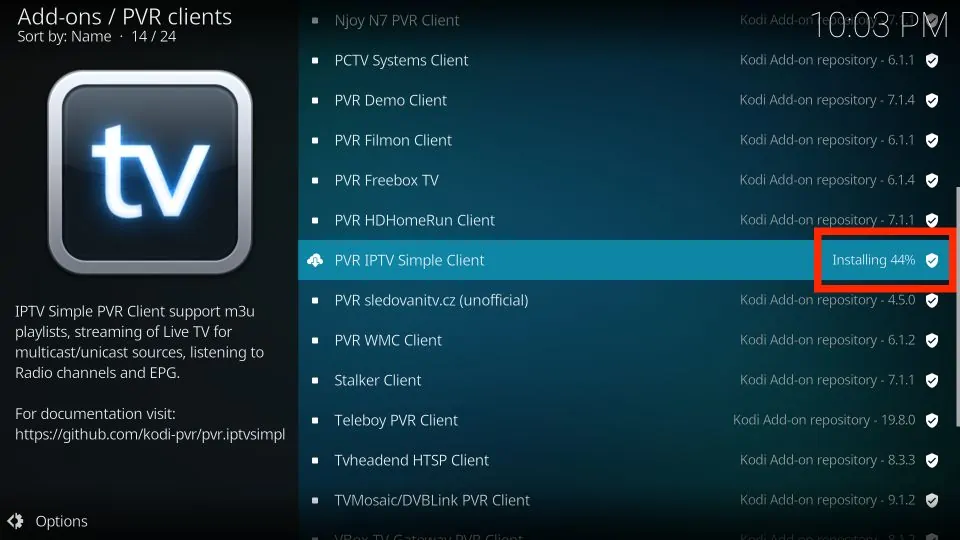
10. PVR IPTV Simple Client will start downloading on your Kodi app.

11. After a few seconds, it will start installing.
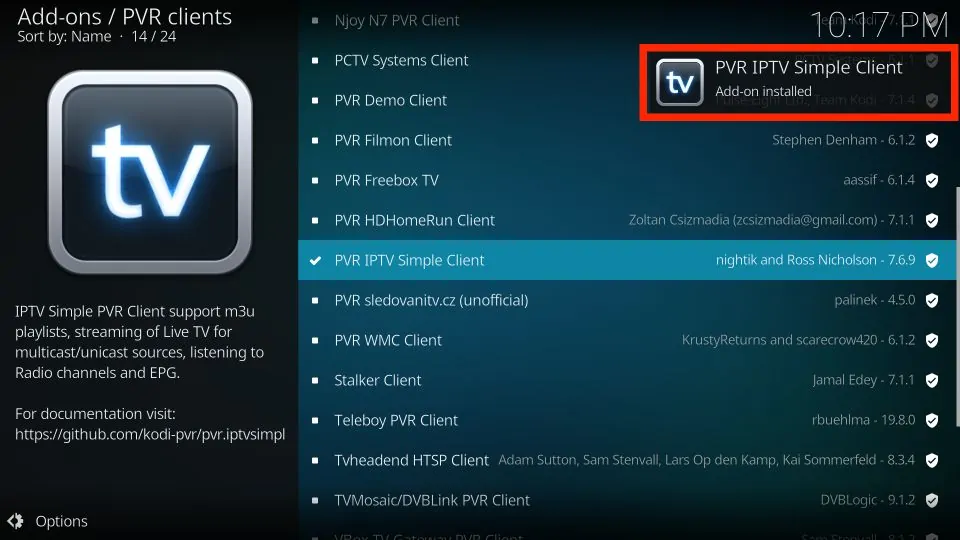
12. Lastly, you’ll see an Add-on installed notification in the top-right corner of your screen.
Part 2: Add an M3U Playlist to PVR IPTV Simple Client
Congratulations! You have successfully installed the PVR IPTV Simple Client on your Kodi app. But it’s of no use if you haven’t configured it the right way. Follow the steps below to add a playlist to the addon for streaming IPTV:
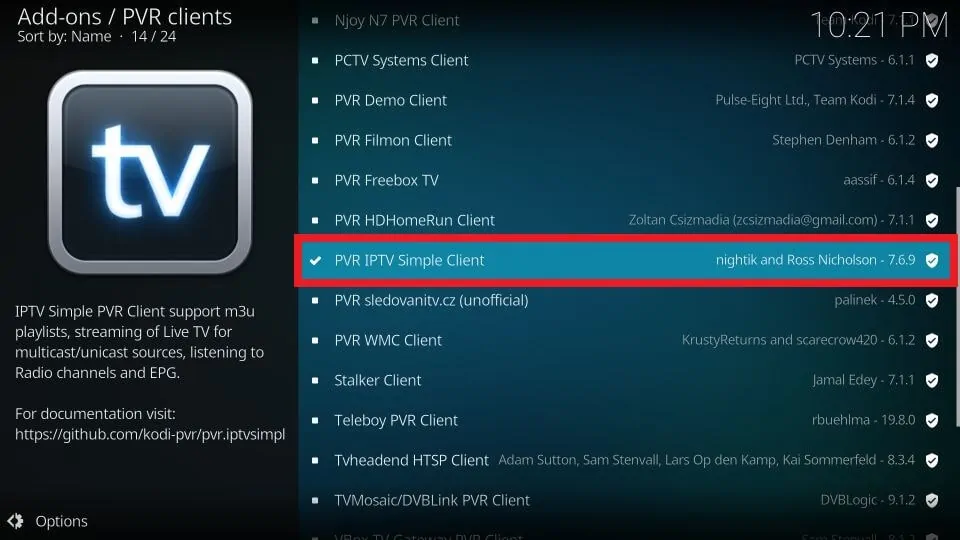
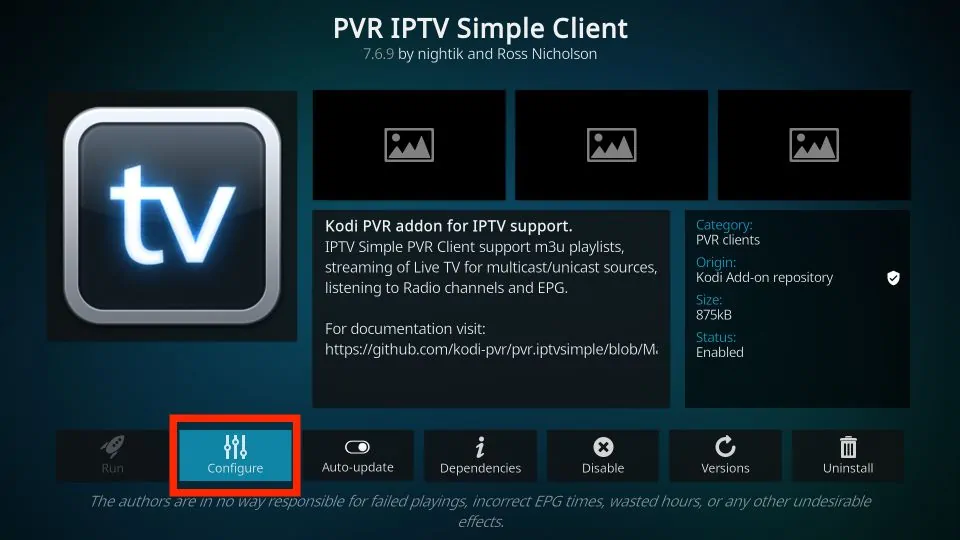
1. On the same screen, select PVR IPTV Simple Client.
2. On the dashboard of the addon, select Configure.
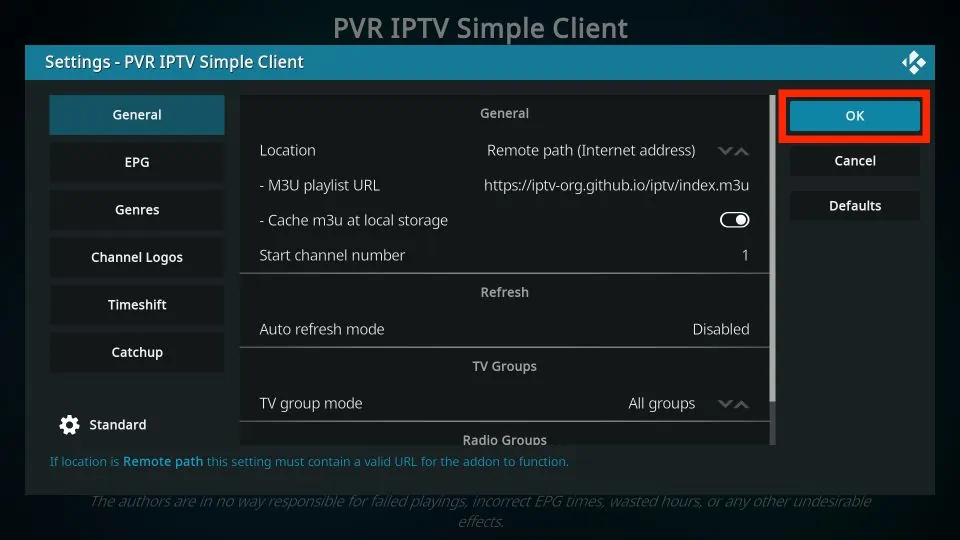
3. Then, go to the General tab.
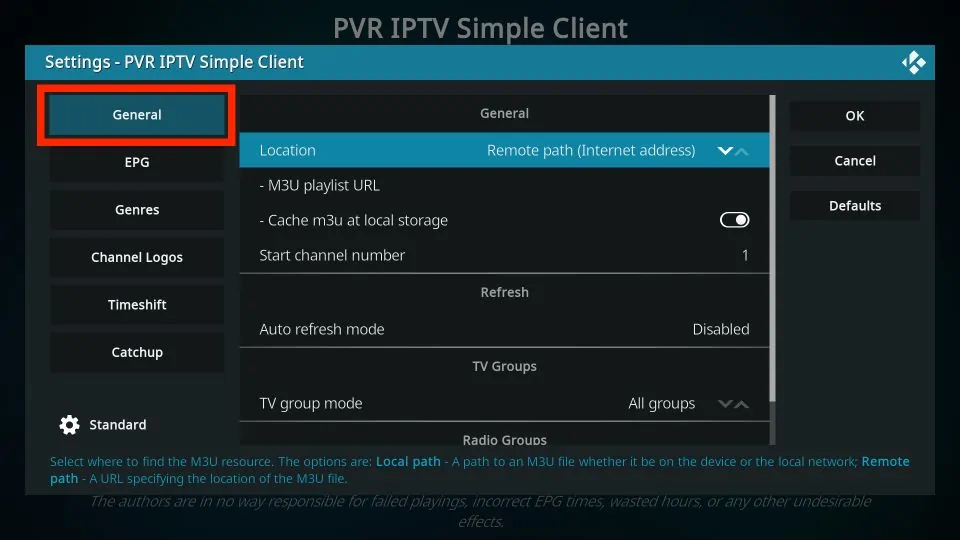
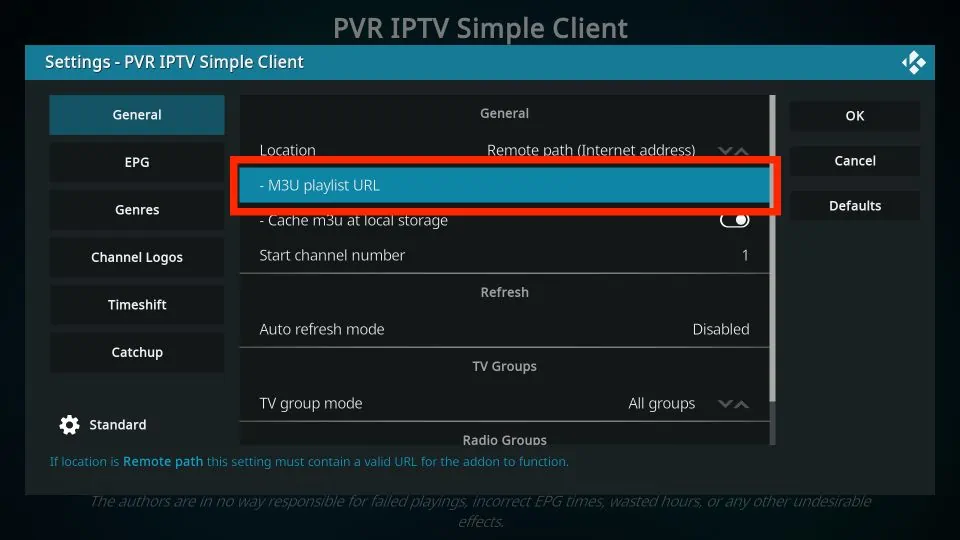
4. Within the General tab, scroll down and select M3U playlist URL.
5. A window with a keyboard will pop up. You will then need to enter your m3u URL which was given to you and click OK.
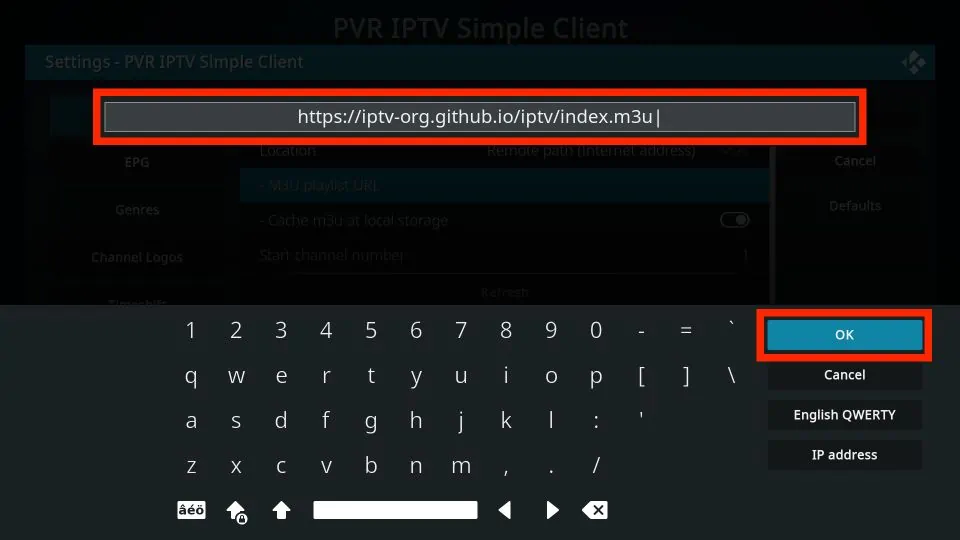
6. Click on the OK button.
7. Exit and then restart your Kodi application.
8. After restarting, PVR IPTV Simple Client will launch automatically.
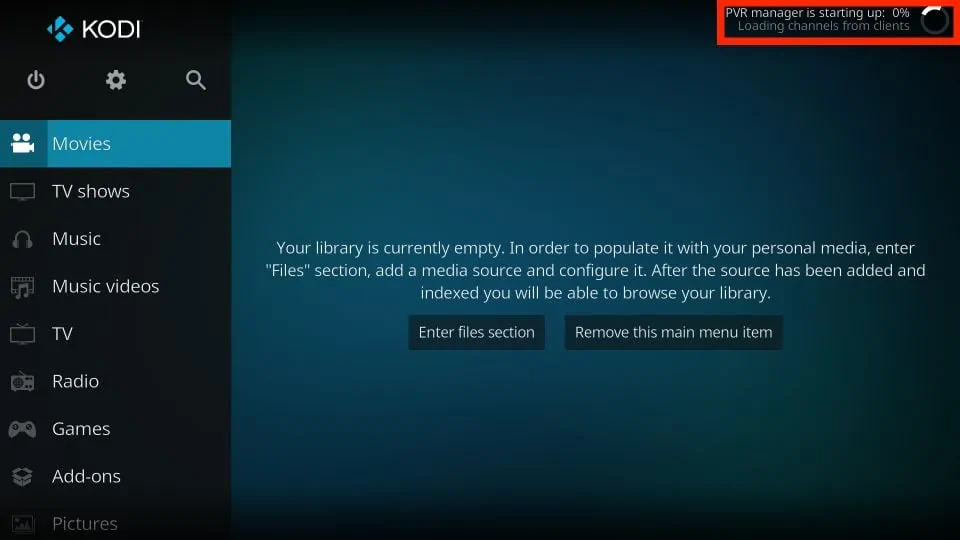
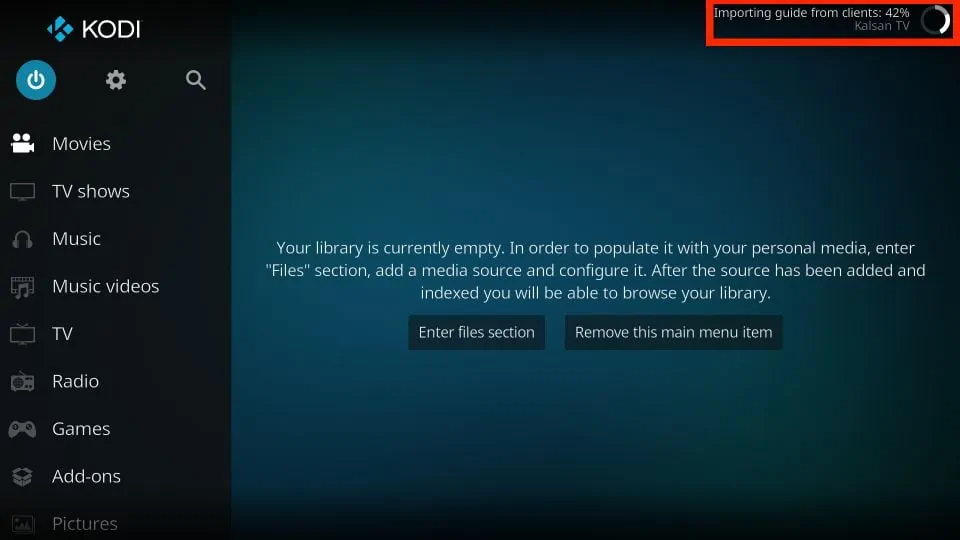
9. The PVR addon will start loading the channels from the M3U playlist you entered. Wait for the addon to finish importing the channels.